

Download Source Files
- Source files for this tutorial are available to Premium members.
Get a Premium Membership
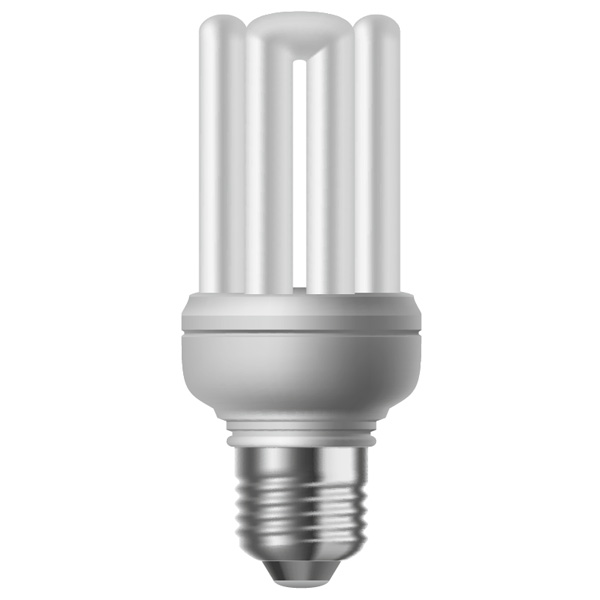
Final Image Preview
Below is the final image we will be working towards. Want access to the full Vector Source files and downloadable copies of every tutorial, including this one? Join Vector Plus for just 9$ a month.Tutorial Details
- Program: Adobe Illustrator CS3
- Difficulty: Intermediate to Advanced
- Estimated Completion Time: 3-5 hours
Step 1
As the first step you will need a shape of an energy saving bulb to start with. Either you pick a good photograph or you make one on your own in vector graphics as shown here. Here we draw our bulb with the Pen Tool, easy as can be.
Step 2
Now you start making the first glowing rod by placing a rectangle as broad as the rod could be.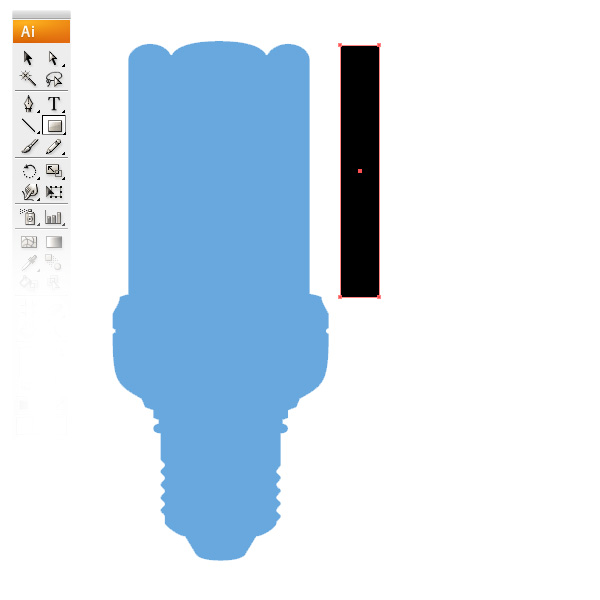
Step 3
Now divide the rectangle into four parts by using the Mesh Tool (shown in the toolbar). It’s important that you don’t click in the rectangle, but at the edge on the left or right side of the vertical center of the rectangle.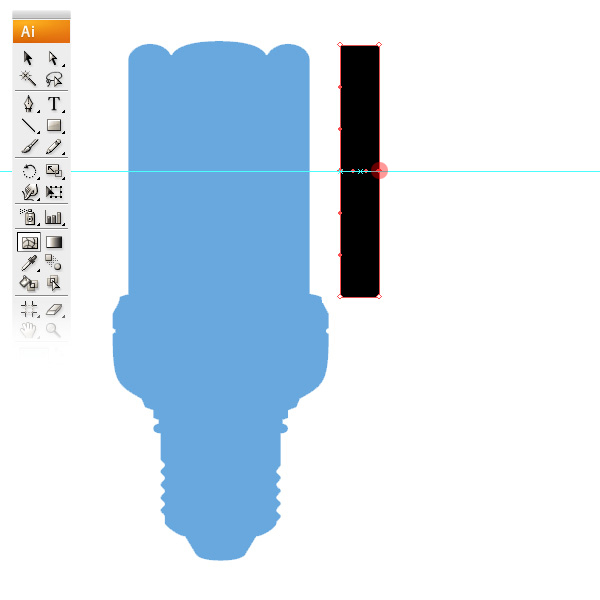
Step 4
As you see here, you have to repeat Step 3 two more times to have it divided into all four parts.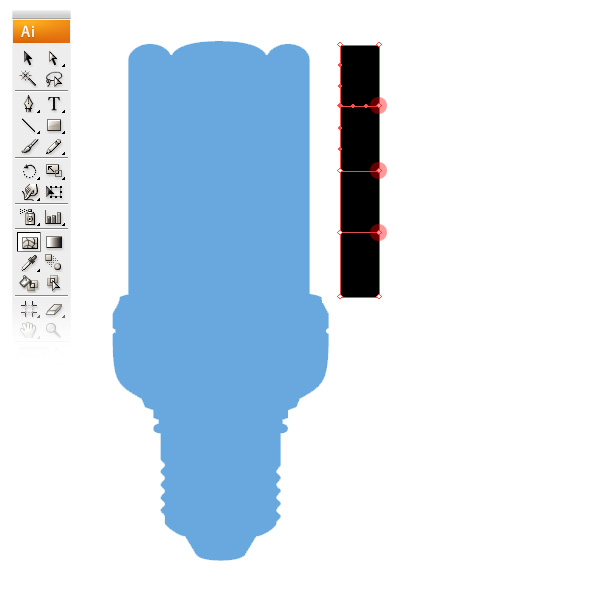
Step 5
Grab the Direct Selection Tool (A), and use it to select the top 6 anchors of your rod, then rotate these by 90 degrees.
Step 6
Select the outer four anchors of the rotated part and rotate these again by 90 degrees to create an arch.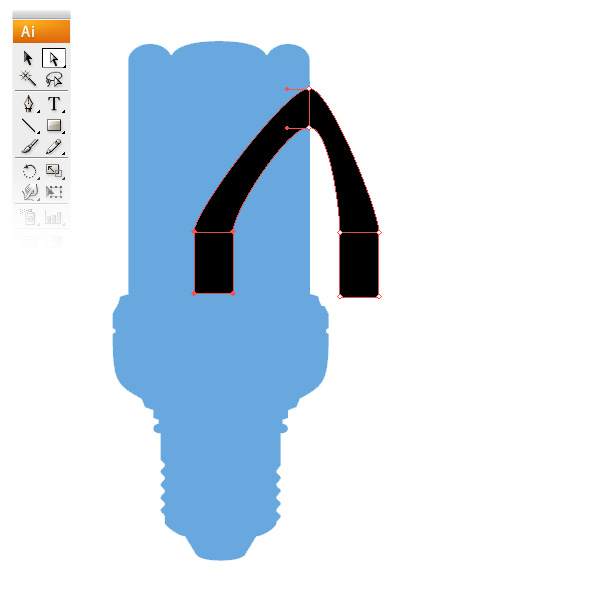
Step 7
Hide your rod for a moment and draw in four guidelines as shown below. This will help you to position your mesh.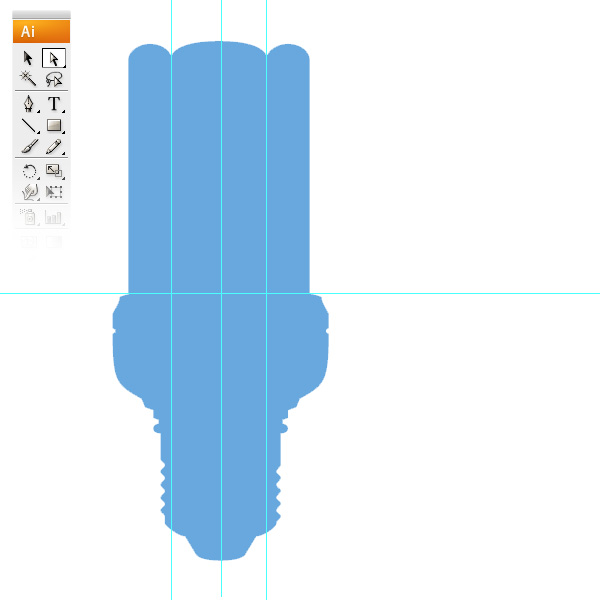
Step 8
Place the rod as shown below and between the guidelines. Make sure you drag the rod parts by the anchors to align them at the guidelines by having the magnetic guidelines active.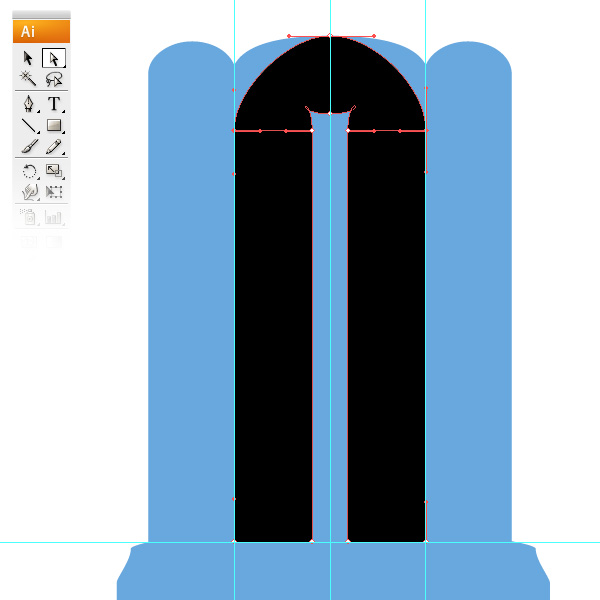
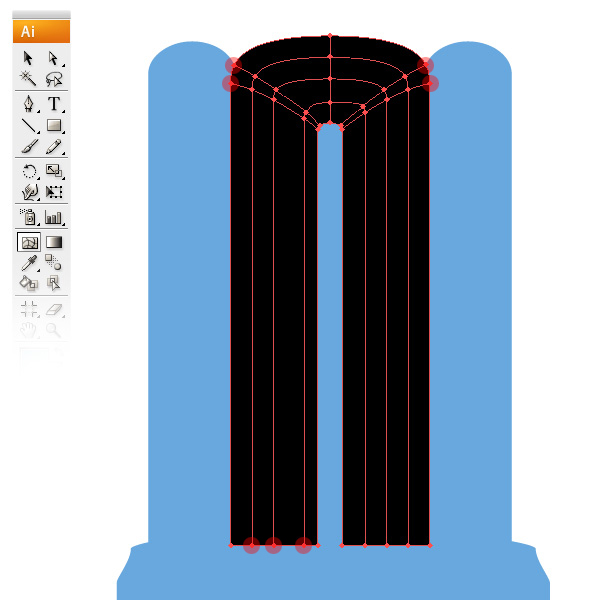
Step 9
Now this part is going to get tricky. The shape for our first part is ready and now you have to place further mesh anchors, so later on you can colorize it to get a gradient effect into your rod.Place the anchors of the mesh by clicking with the Mesh Tool at the bottom edges to get vertical divisions. Also add another two diagonal divisions in the curve as you can see below. This helps to give a more detailed look to the mesh gradient.
Step 10
Now let’s build one of the side rods, which we can later just copy for the other side. Place a rectangle and divide it into three parts like in the picture below. Notice that the main rod in the center is located a bit in the front, so you have to scale this rod a bit up (big red marker).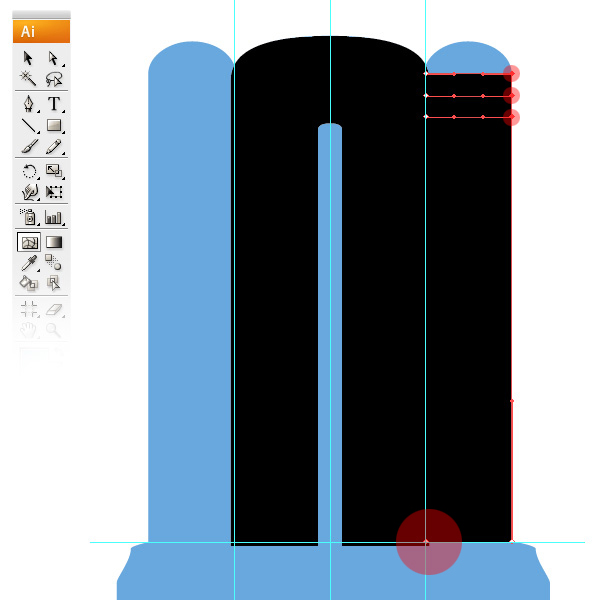
Step 11
Form the shape to conform your rectangle to the shape of your bulb and divide it again with the Mesh Tool.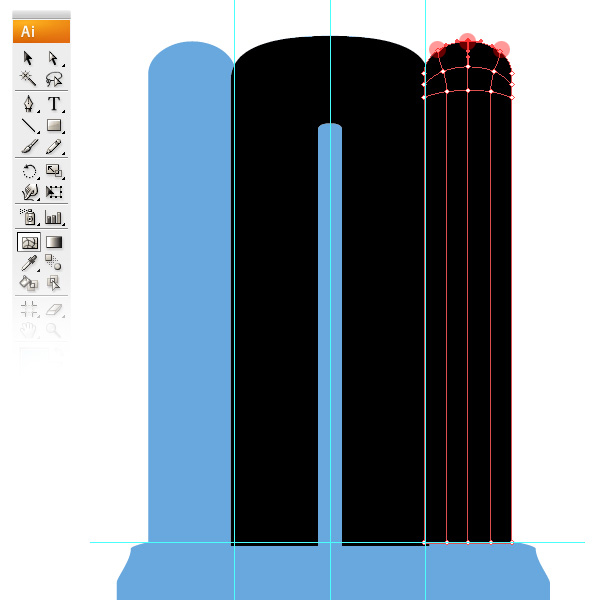
Step 12
Now you’re good to go for colorizing your rods to have a smooth light effect. Select an anchor and then you just pick the color in your color palette.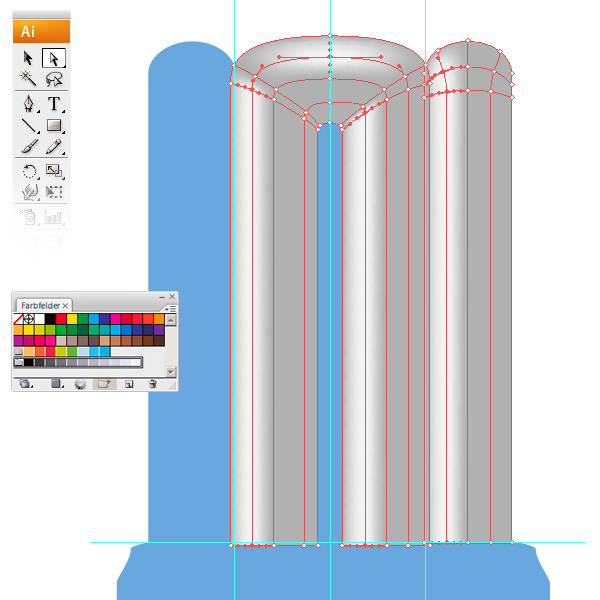
Step 13
This image below shows you how the the final effect should look.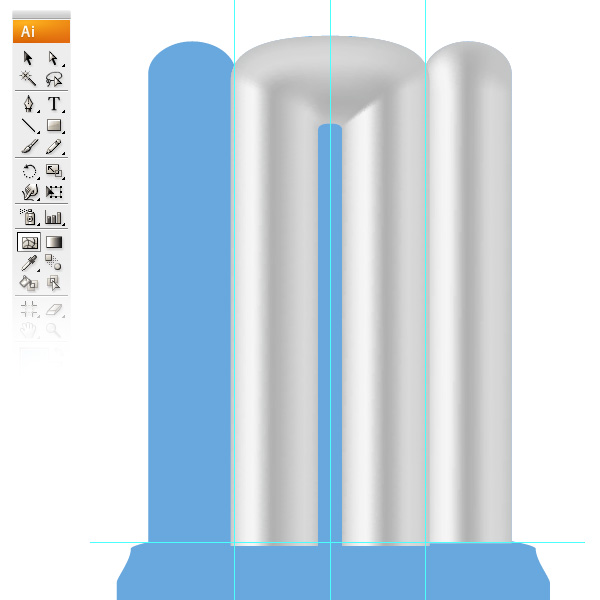
Step 14
Copy your side rod to the other side now.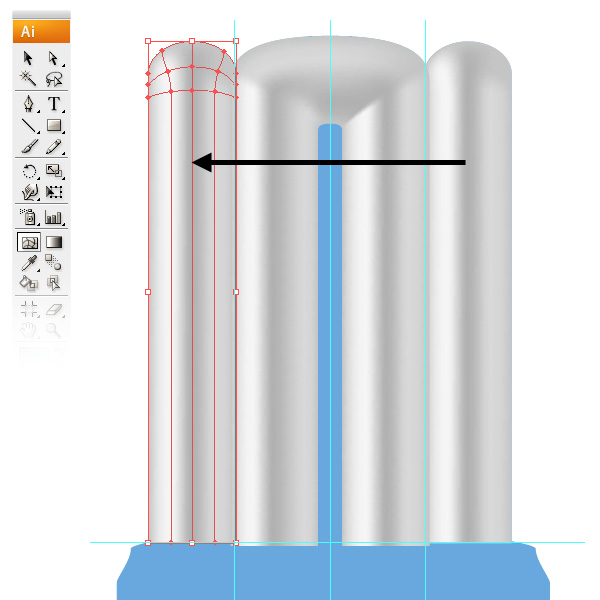
Step 15
The upper part is done. For the lower body you basically have to do the same thing as you did with the rods, just in another shape, which means forming and dividing the mesh shape. So first you place a rectangle to start with.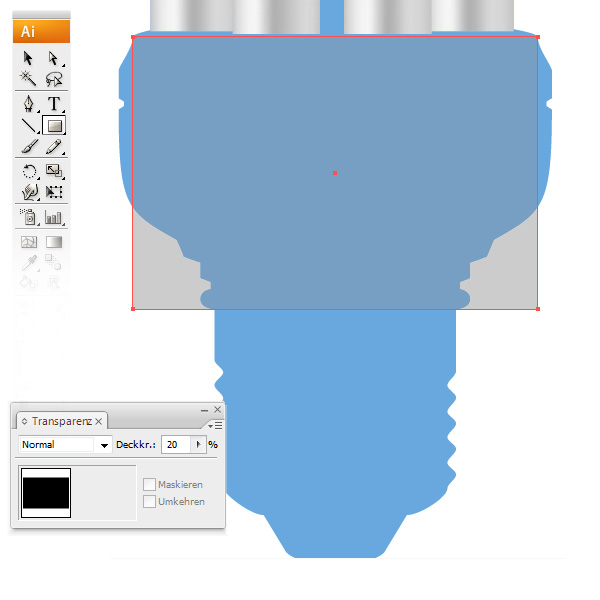
Step 16
Now you divide the rectangle with the Mesh Tool. Make sure that you divide the rectangle by looking at the corners of the main shape.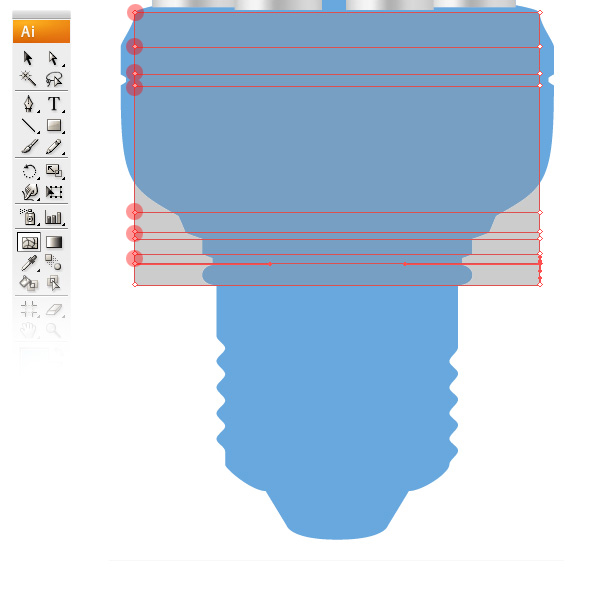
Step 17
Justify the rectangle by using the Direct Select Tool (A) on the main shape, as shown below.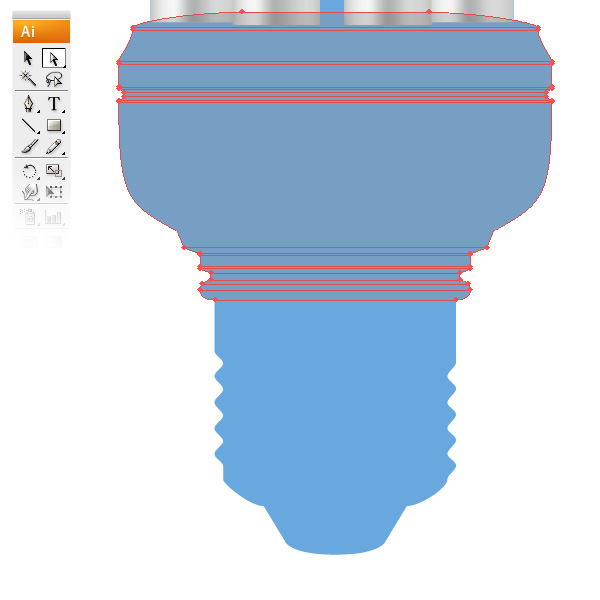
Step 18
Once you’re satisfied with the result of your horizontal divisions, add two vertical mesh lines.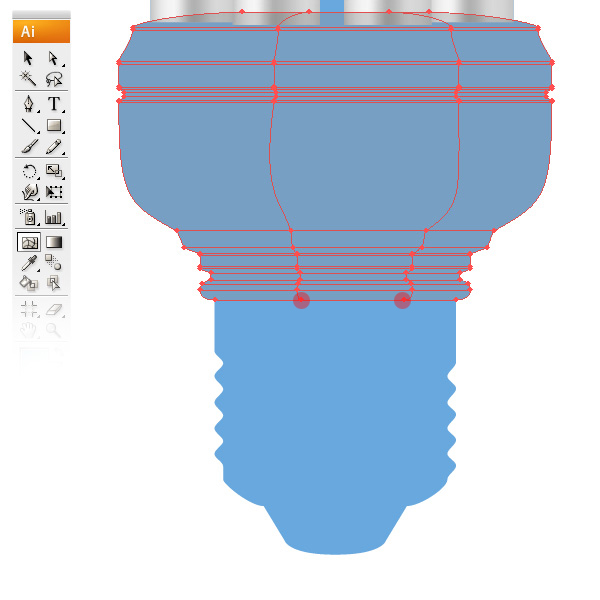
Step 19
Now start adding color to your mesh grid just like in Step 12.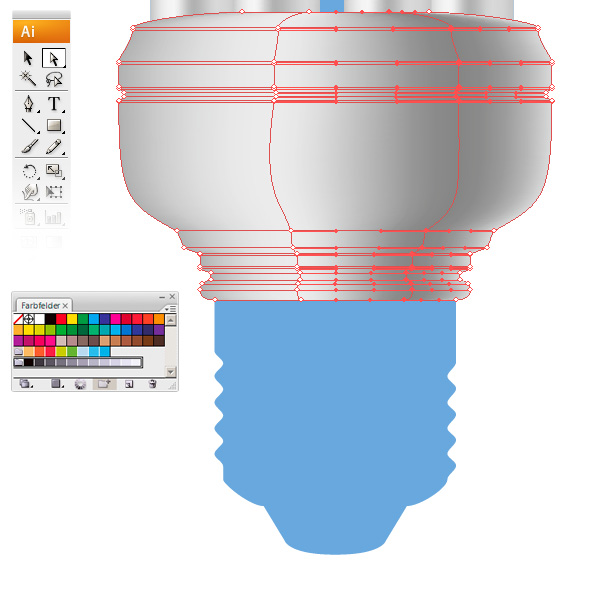
Step 20
Finally it should look like the image below.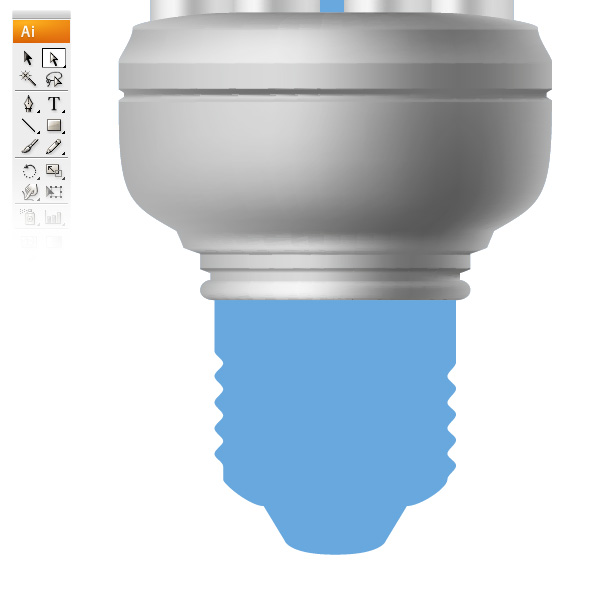
Step 21
Like the last two parts you’ll have to do the same procedure. First draw a rectangle, divide it with the Mesh Tool by observing the main shape. This time, add an additional mesh line over the first division where the thread starts (arrow).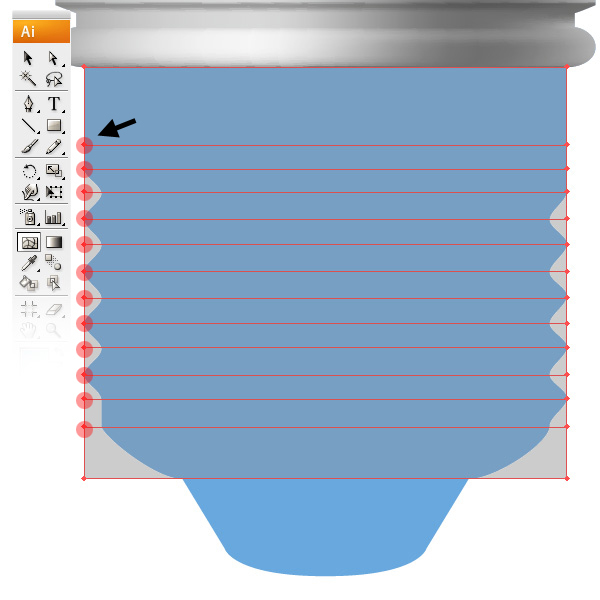
Step 22
Select every second anchor on both sides as shown in the screenshot and scale them down to build the thread.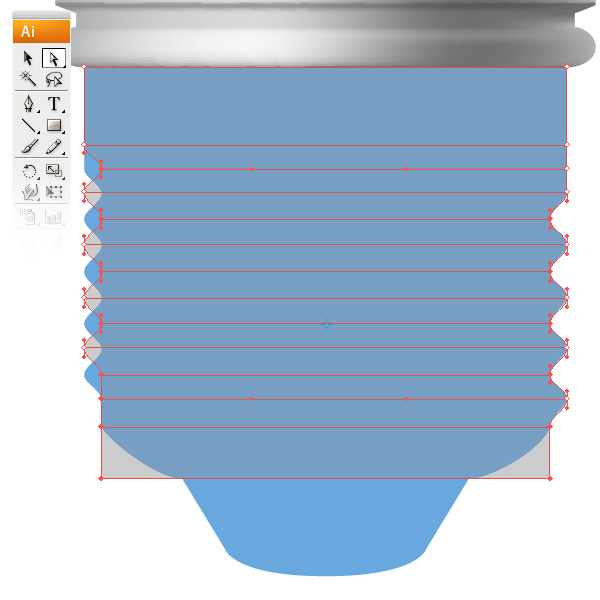
Step 23
Now move the left side down to fit the main shape.
Step 24
Justify the lower left corner to the main shape, add further mesh lines in the thread and divide the shape vertically with seven mesh lines to create a nice metallic effect.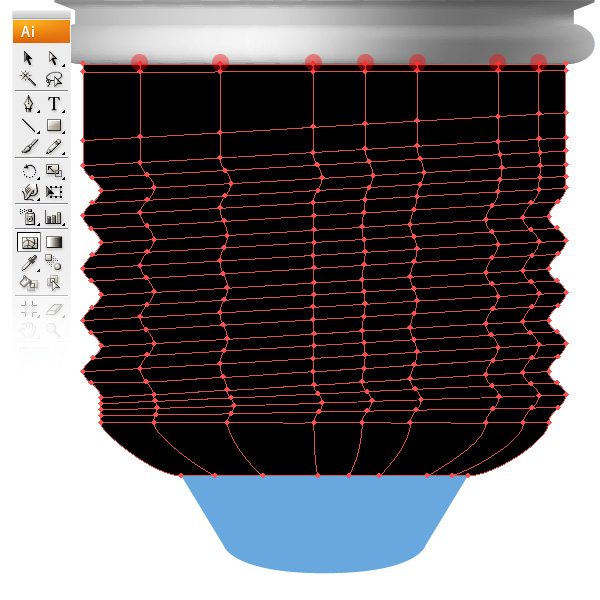
Step 25
When all lines are set, you can start adding color on the vertical divisions. Important: Don’t start coloring horizontally or else you’ll just make it harder for yourself. It should look like the image below after coloring.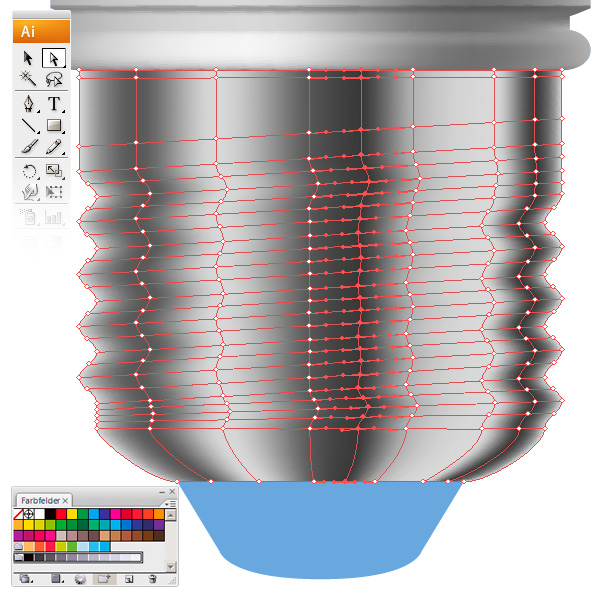
Step 26
Add some dark gray on the darker parts of the thread.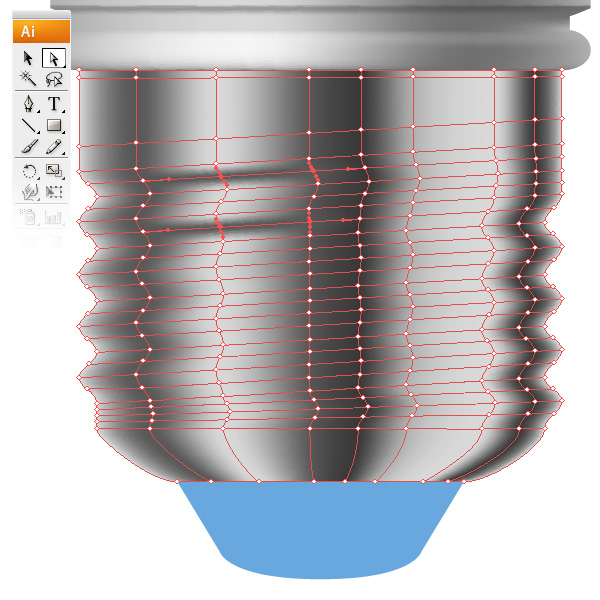
Step 27
Finally it’s supposed to look like the image below.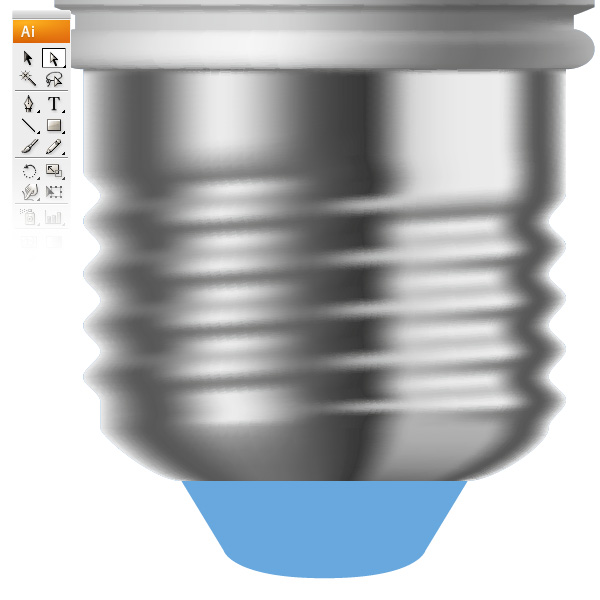
Step 28
Here you just create a simple rectangle, divided it vertically with the Mesh Tool. Afterwards, you scaled the lower part down and formed the curve points into a trapezium.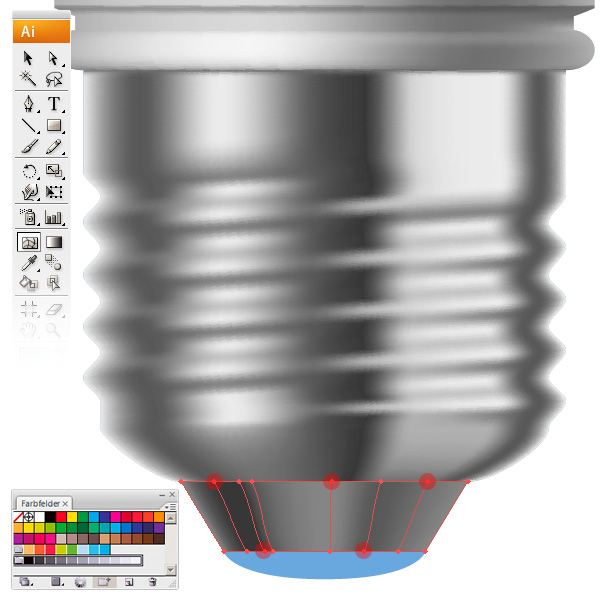
Step 29
For the last step, this is an easy one. Make a circle, cut it in a half, scale it flat and add a linear gradient on it.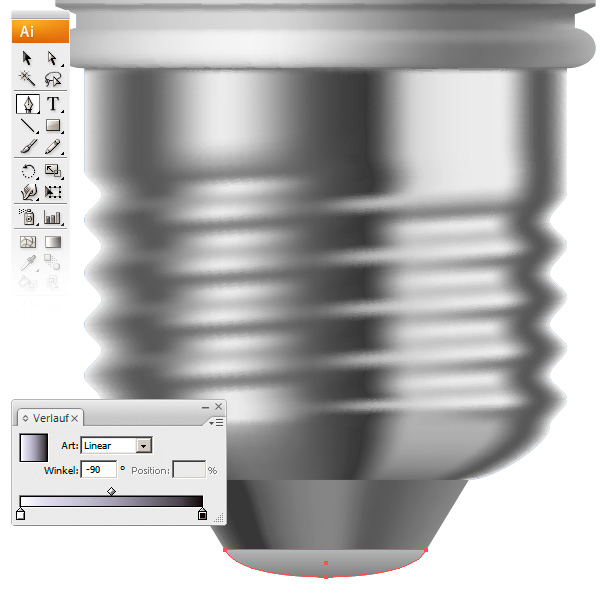
Conclusion
This is the final energy saving bulb. Enjoy!
Nenhum comentário:
Postar um comentário