

Download Source Files
- Source files for this tutorial are available to Premium members.
Get a Premium Membership
Final Image Preview
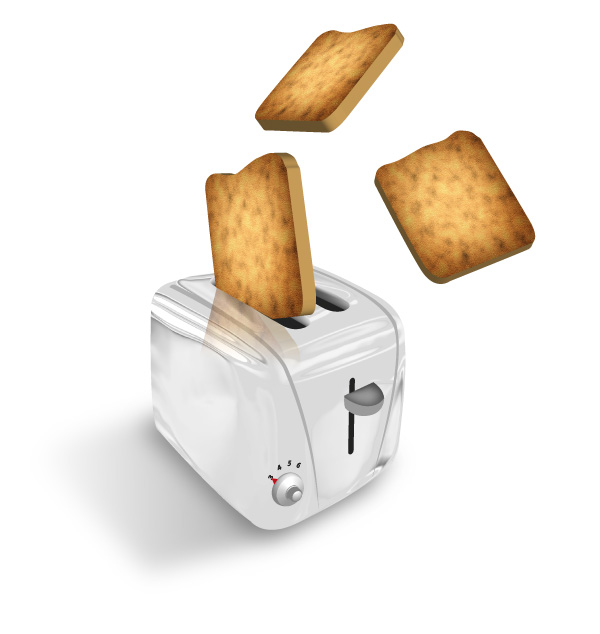
Below is the final image we will be working towards. Want access to the full Vector Source files and downloadable copies of every tutorial, including this one? Join Vector Plus for just 9$ a month.Tutorial Details
- Program: Adobe Illustrator CS3+
- Difficulty: Intermediate
- Estimated Completion Time: 2-3 hours
Step 1
Start creating the contour of a toaster shape with a gray fill.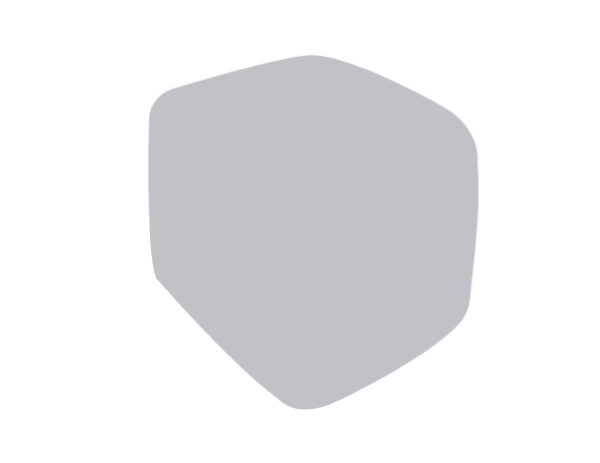
Step 2
In a new layer create shapes with the same gray fill using the toaster contour to simulate the light areas.
Step 3
Apply the Mesh Tool on these new shapes and, using different gray and white shades on the mesh intersections, create the lights over the contour.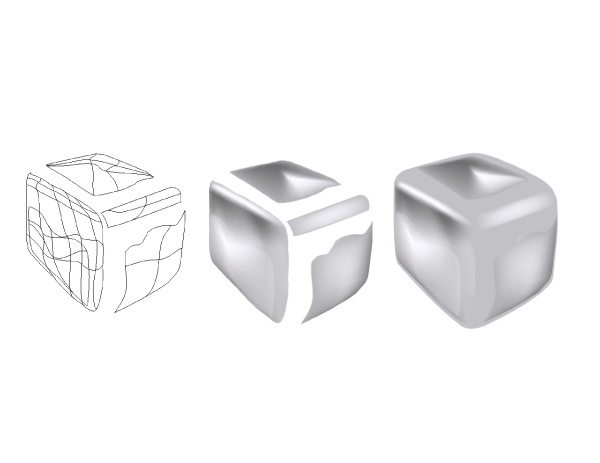
Step 4
Group both layers and create a new copy.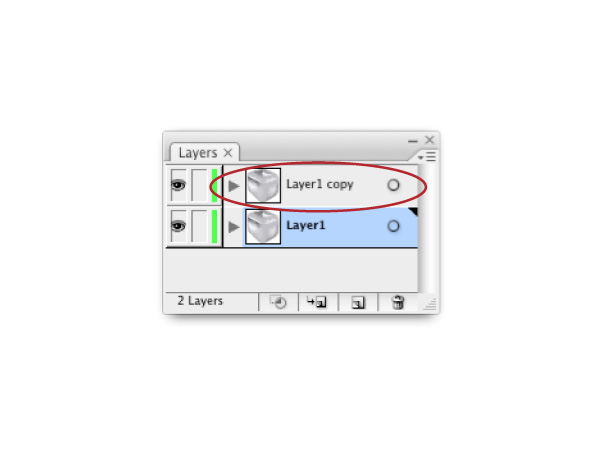
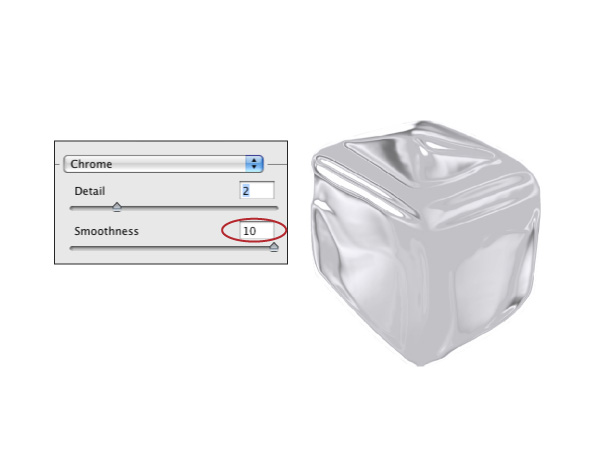
Step 5
Select the copy, click in Effect and apply Sketch > Chrome. This optionwill create a very interesting chrome effect. To get a subtler effect move the smoothness slider all the way to the right.
Step 6
To create the holes for the toast draw two shapes like the ones below and group them.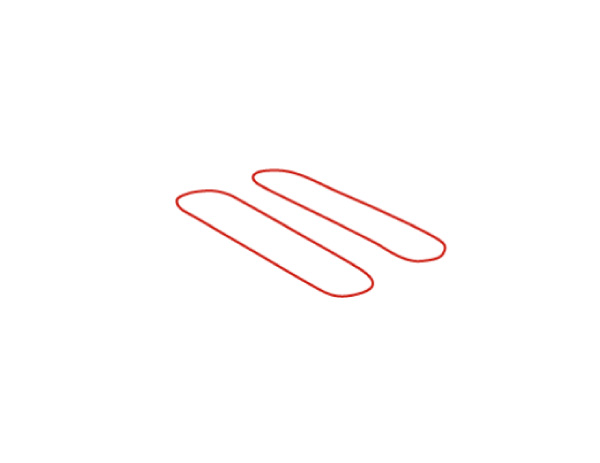
Step 7
Duplicate the shapes and drag them a little to the bottom, as in the example below.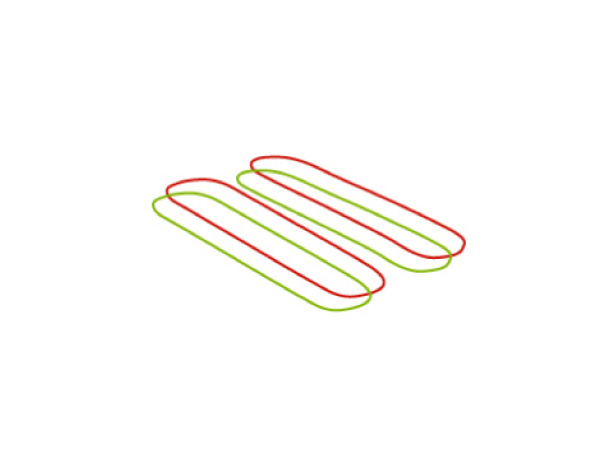
Step 8
Select these two shapes and apply the Pathfinder Divide tool. Delete the remaining bits and pieces.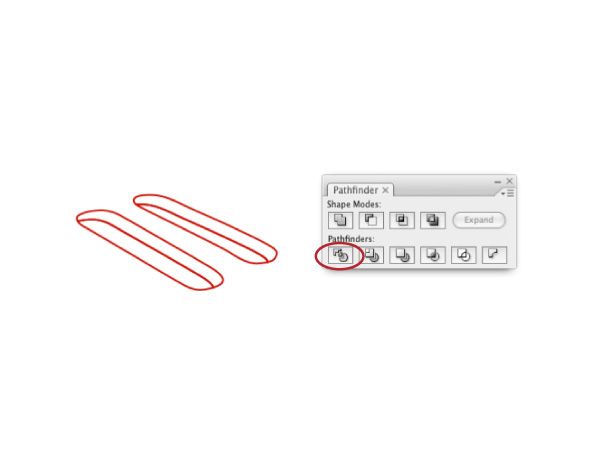
Step 9
Fill the bottom shapes with black and the upper ones with gray. Delete the outlines.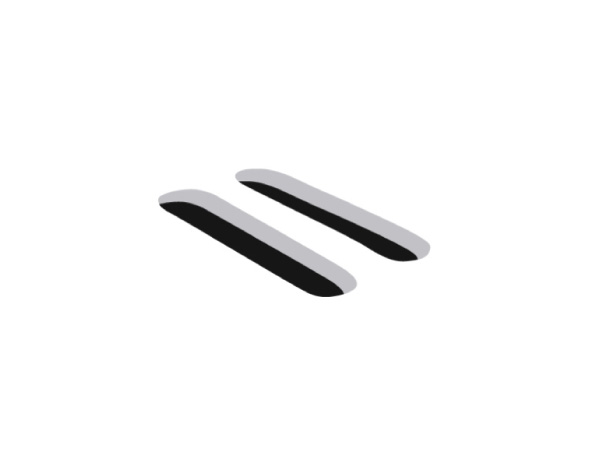
Step 10
Apply the Mesh Tool on the gray shapes, using shades of dark gray on the mesh intersections. Build a sense of depth here.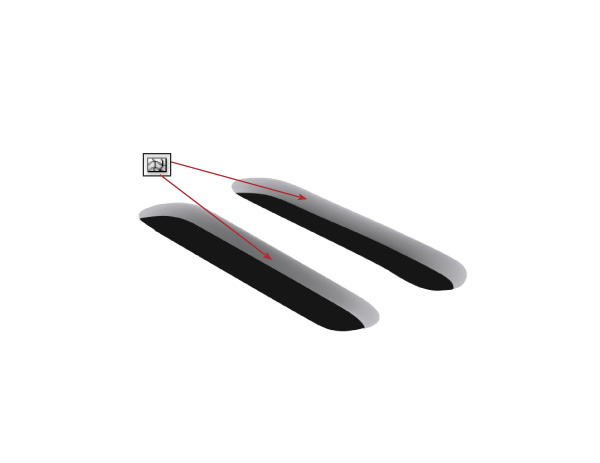
Step 11
Now we’ll create the timer button using the 3D Revolve effect. Draw half of the button, delete the outlines and fill with white or light gray. Apply the 3D Revolve effect. In the options panel select preview, and rotate the cube until you obtain the desired position.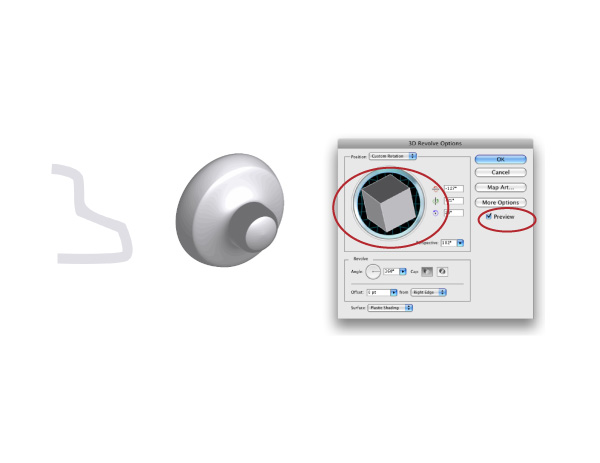
Step 12
To create the toaster eject button, use half of an ellipse. You can do that using the Minus Front effect of the Pathfinder to cut away the bottom half of an ellipse with, for example, a square.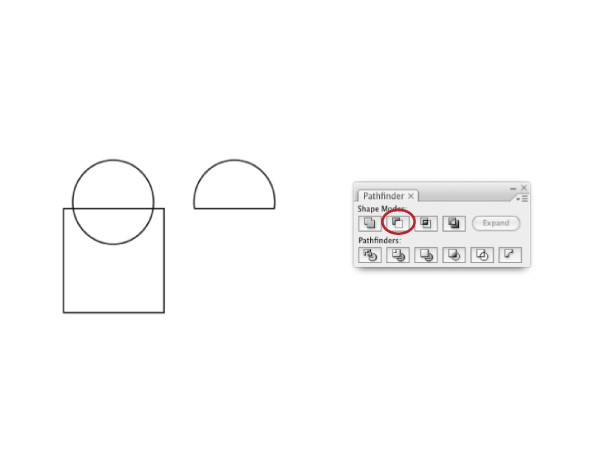
Step 13
Fill the half ellipse with dark gray and use the 3D Extrude effect. In the options panel select the desired depth and rotate the cube to position the shape.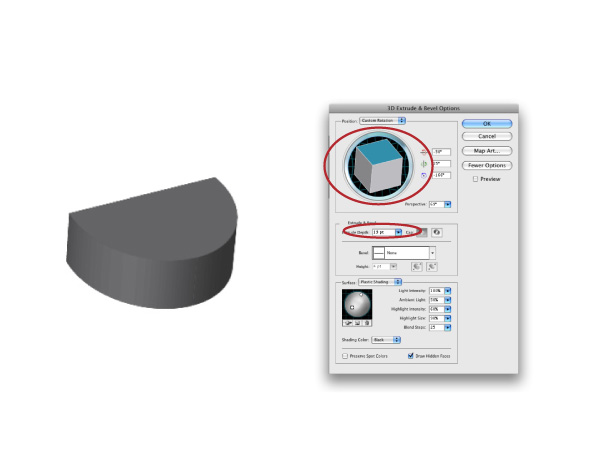
Step 14
With the figure selected, apply Object > Expand Appearance to convert the effect into an object. Ungroup the elements and apply Mesh on the upper part of the button, as in the example. Apply white on the central mesh intersection to create the lighting effect.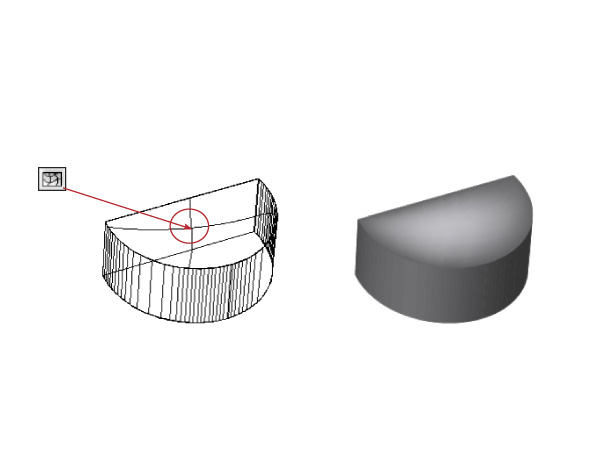
Step 15
Add other details, like the timer numbers and the slide hole for the eject button.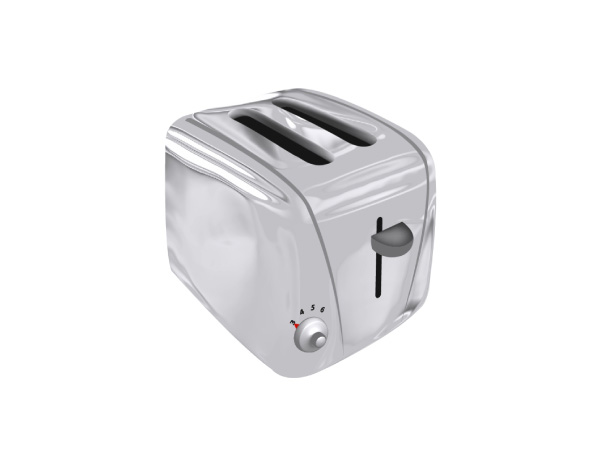
Step 16
To make the toast begin by creating the texture. Draw a square and fill it with any color. Apply Effect > SVG Filters > AI Wood Grain.
Step 17
Apply in the square the Inner Glow effect using the Multiply Mode with a dark brown fill. Raise the blur value to darken the border of the square, creating a burned effect.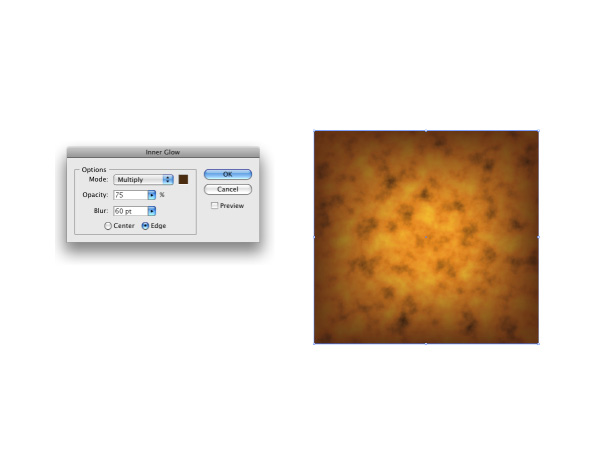
Step 18
Apply the texturizer option using the sandstone texture.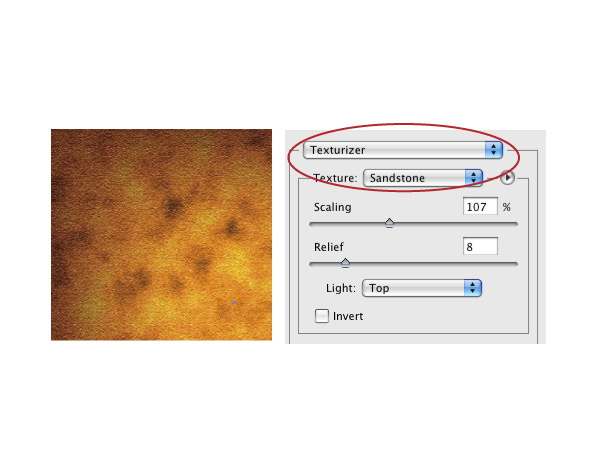
Step 19
Create an amorphous shape over the texture and fill with white or light gray applying the Blur effect with the Gaussian Blur option and 100% radius.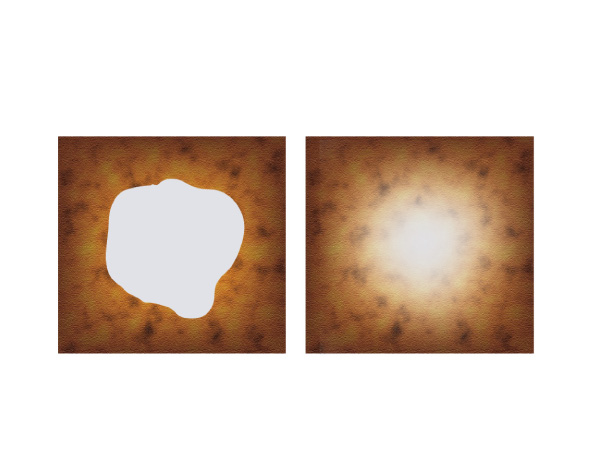
Step 20
Go to the Transparency panel and choose the Soft Light blending to apply on the central shape, which creates an interesting lighting over the texture.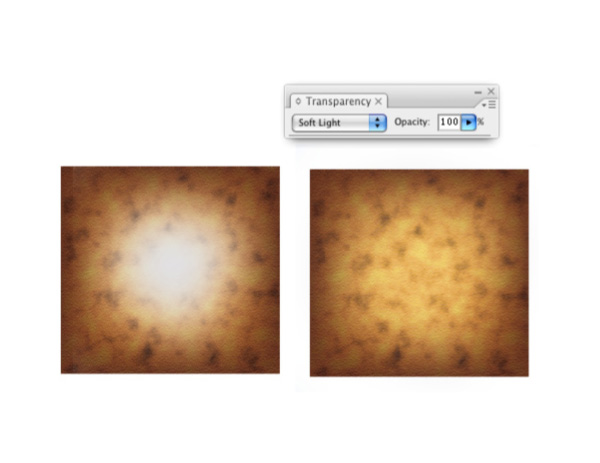
Step 21
Drag the texture to the Symbols panel.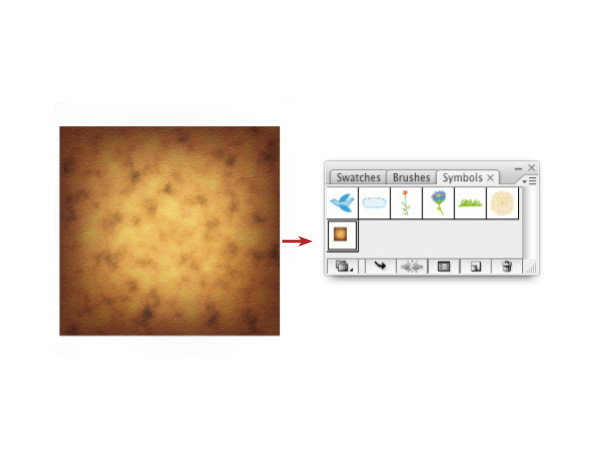
Step 22
Draw the shape of a piece of toast, fill it with the #D69C51 color and delete the outline. Use the 3D Extrude effect. In the options panel select a small depth to create the thickness of the toast (in the example we used 20 pts).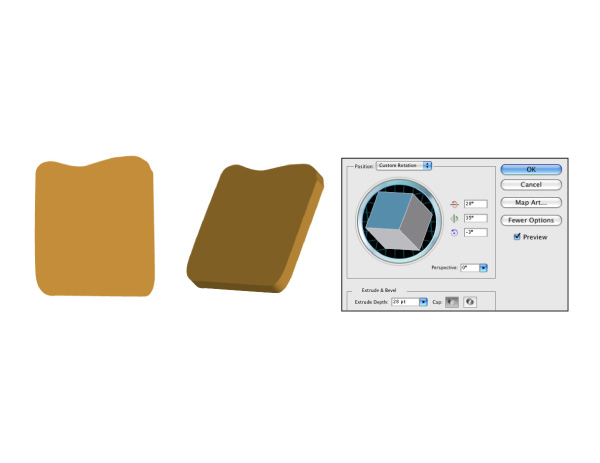
Step 23
In the same panel go to Map Art and in the surface field search for the toast face. Activate Symbols in the panel and apply the previously created texture.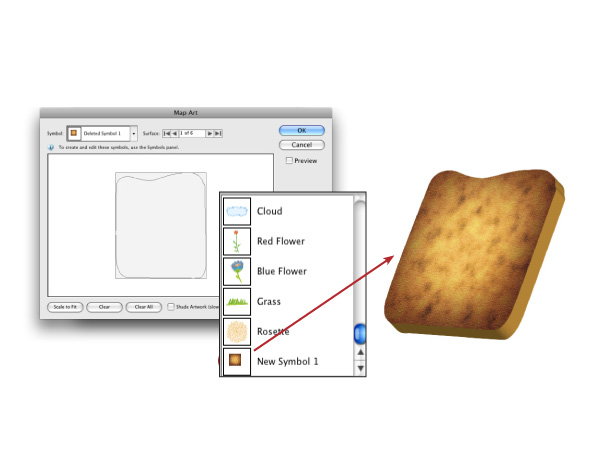
Step 24
Rotate the cube to position the toast over the toaster hole.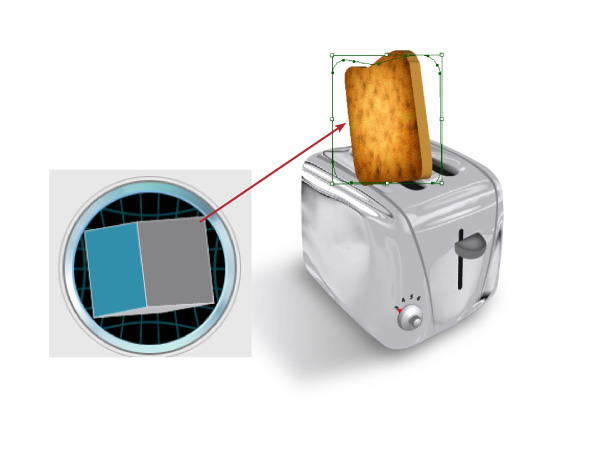
Step 25
Make some copies of the toast and position them in different ways.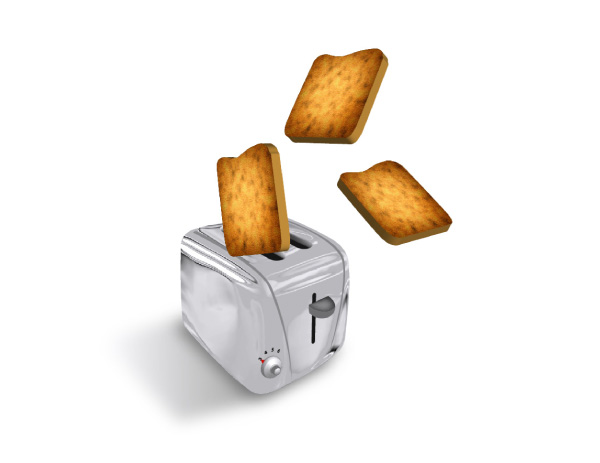
Step 26
Reduce the transparency of the first piece of toast and draw the contour over it, creating an intersection between the toast and the border of the toast hole. Put the transparency back to normal, select both the contour and the toast and use Command + 7 to create a mask.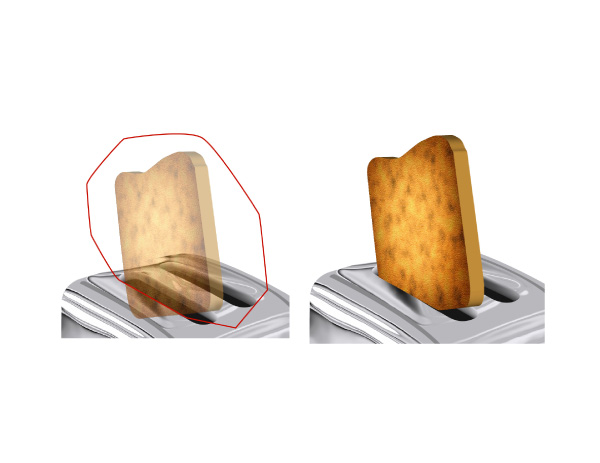
Step 27
Create the toast reflection one the toaster body. Make a copy of the toast and mirror it under the first toast.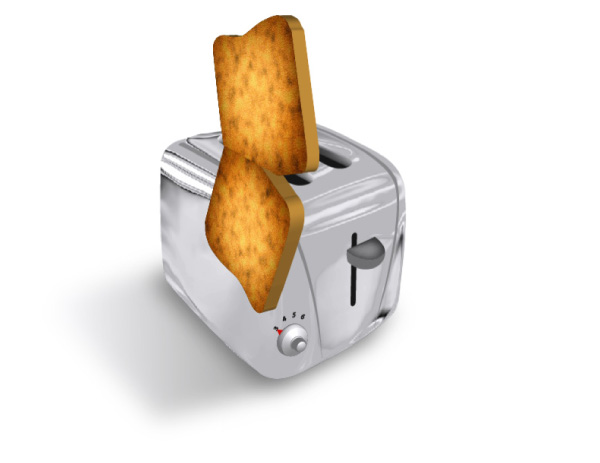
Step 28
To conclude make a shape filled with a black and white gradient and put it over the mirrored toast. Select both objects and in the Transparency Panel Pop-Up activate the Make Opacity Mask option. Adjust the gradient direction to hide part of the reflection and lower the opacity a little.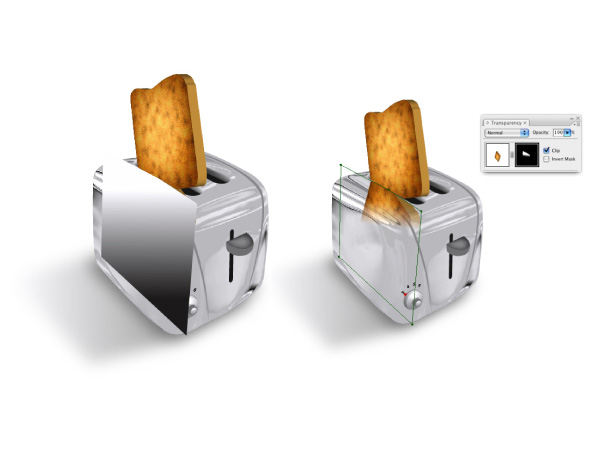
Conclusion
After applying a little bit of shadow under the toaster, we’re left with the final image below!
Nenhum comentário:
Postar um comentário